
Last updated November 15, 2026
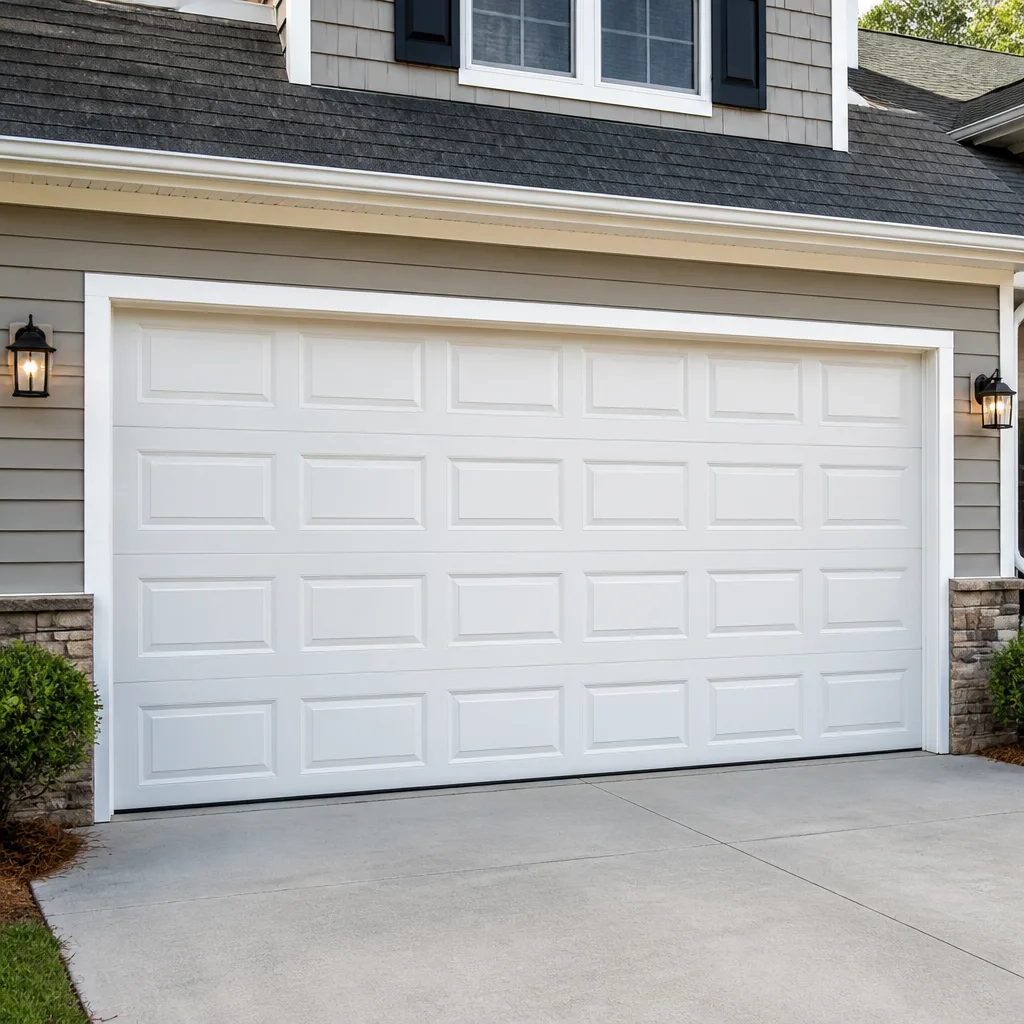 Raised-panel steel
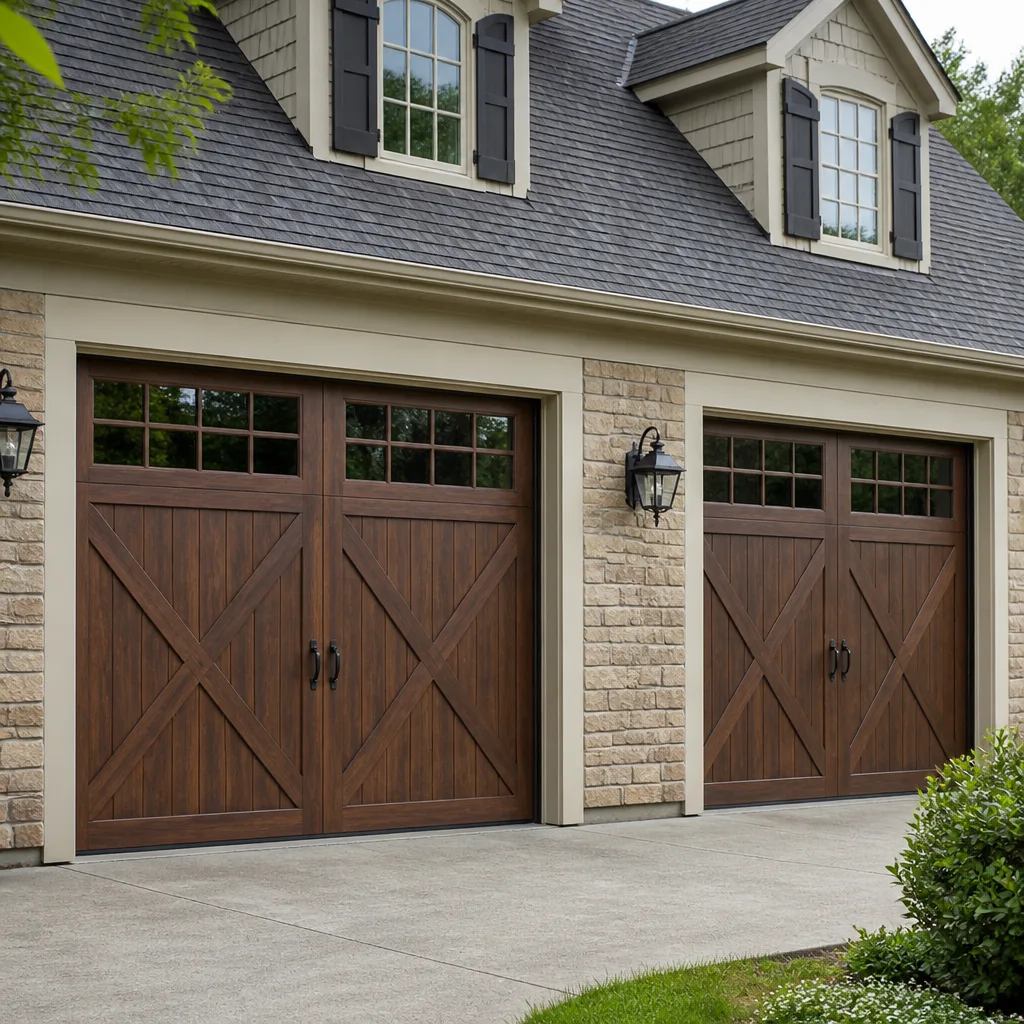 Carriage house
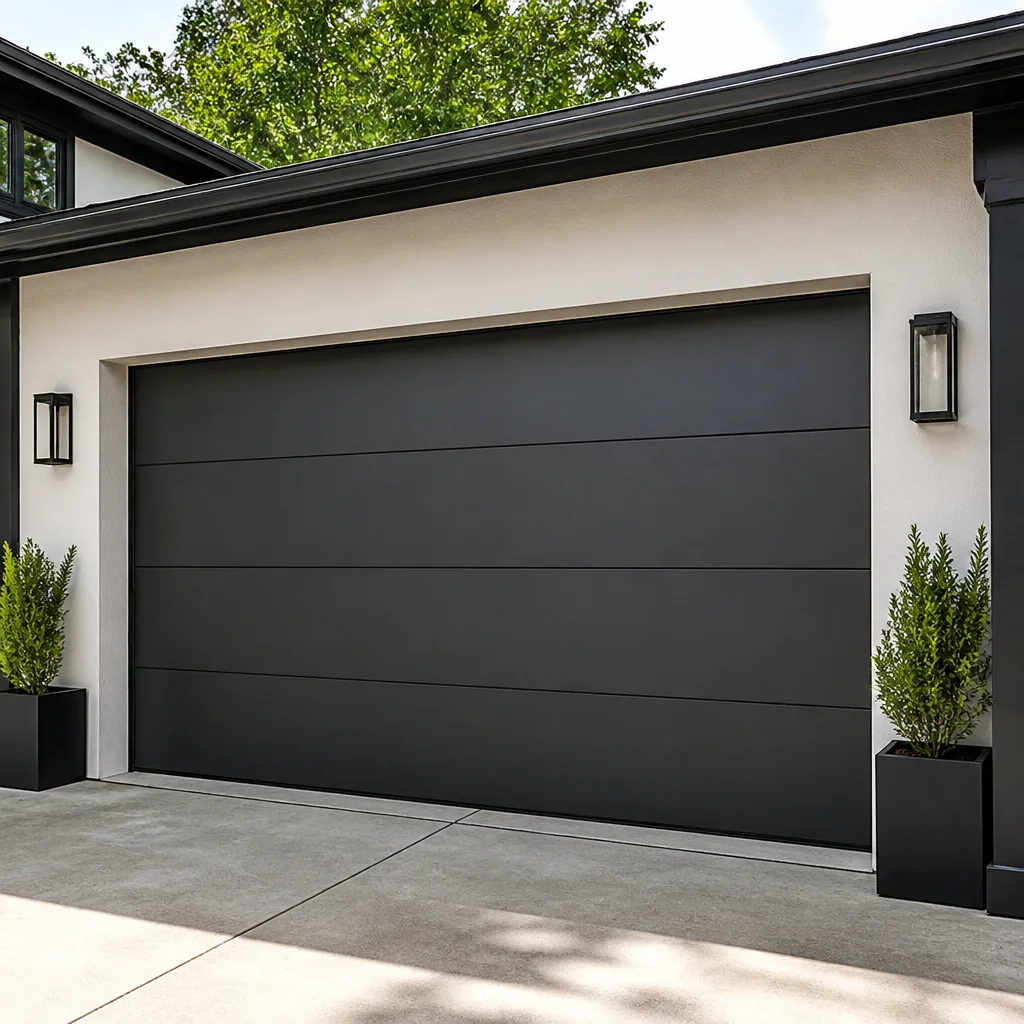 Modern flush
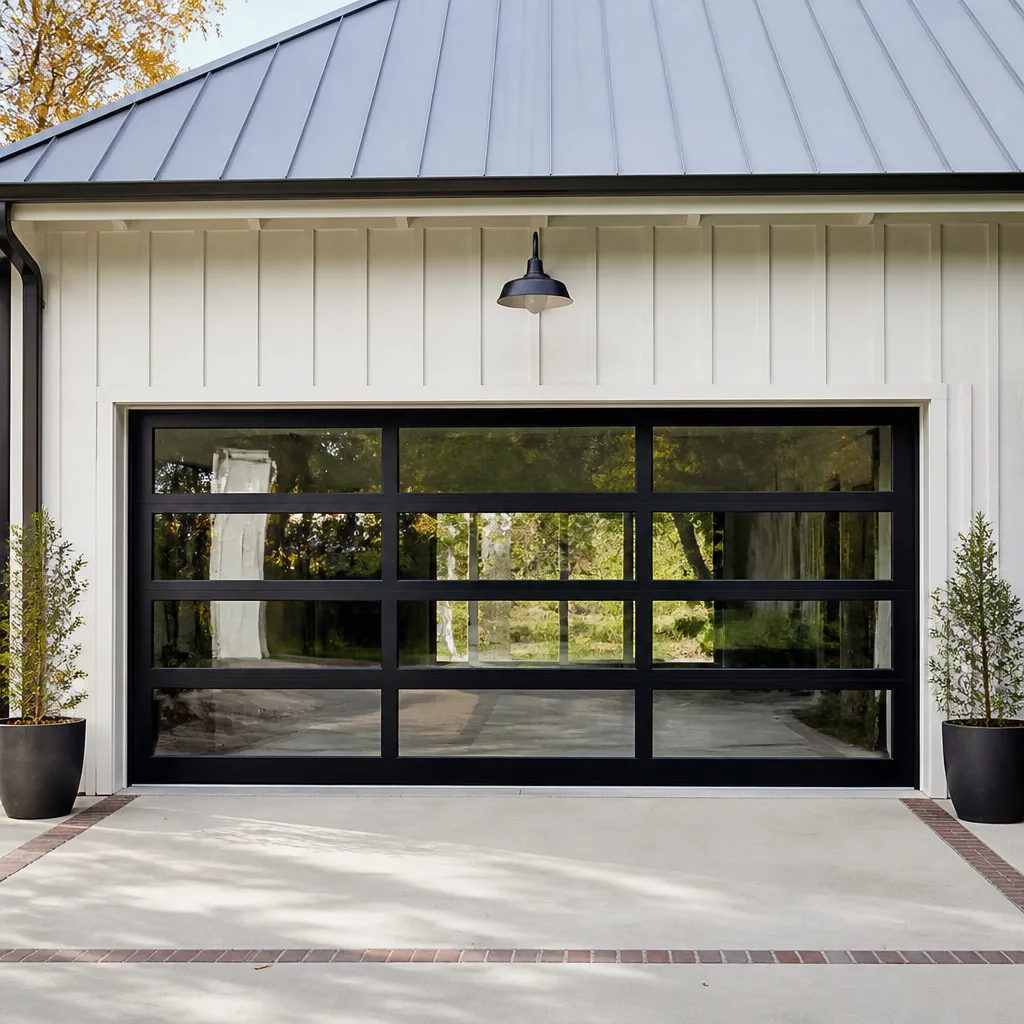 Full-view glass
 LiftMaster openers
 Chamberlain openers
Full 25-point door and opener safety check with every visit - springs, cables, rollers, tracks, and your LiftMaster or Chamberlain opener included
You get a price before we start. It does not change when the pro arrives.
Get your free estimateGarage Door Repair Maintenance Schedule: What to Do and When
Most homeowners treat garage door care as a single annual chore, if they think about it at all. That’s the wrong model. A garage door is a system of moving parts that wear at wildly different rates: the springs carry the door’s full weight every cycle, the rollers spin on the track, the opener motor drives it all, and the weatherstripping seals it. Cheap parts like lubricant cost a few dollars. Expensive parts like torsion springs cost a few hundred. Conflating these timelines means you either over-maintain the cheap stuff or ignore the costly parts until they snap. This guide gives Joliet homeowners a component-specific calendar: what to check monthly, quarterly, annually, and every few years, so a small purchase today prevents a larger replacement tomorrow. By the end you’ll know exactly what your door needs and when.
Quick Answer
A garage door maintenance schedule is layered, not annual. Check balance and cables monthly, lubricate moving parts quarterly, inspect spring tension and hardware annually, and plan for proactive spring or cable replacement every three to five years. Different components wear on different timelines, so a single yearly tune-up misses the parts that fail first.
Styles & brands we work with
- Raised-panel steel
- Carriage house
- Modern flush
- Full-view glass
- LiftMaster openers
- Chamberlain openers
Table of Contents
- Why a Layered Schedule Beats an Annual Checklist
- Monthly Checks: Balance Test and Cable Inspection
- Quarterly Care: Lubrication and Roller Check
- The Correct Lubrication Map
- Annual Inspection: Spring Tension and Hardware Torque
- Spring and Cable Replacement: The 3 – 5 Year Window
- Joliet Seasonal Prep: Freeze and Heat
- How to Log Maintenance So Patterns Emerge
- Common Mistakes to Avoid
- When to Call a Professional
Why a Layered Schedule Beats an Annual Checklist
Garage door components age at different speeds, and treating them as if they share a single timeline is the root of most avoidable failures. A bearing plate might outlast the door’s paint. A torsion spring might cycle 15,000 times and then fail without warning. If you check everything once a year, you miss the parts that fail monthly and you over-inspect the parts that barely change.
The layered approach separates maintenance into four tracks:
- Monthly: Balance test, visual cable inspection, auto-reverse test.
- Quarterly: Lubrication of rollers, hinges, bearings, and opener chain or screw; roller condition check.
- Annually: Spring tension check, hardware torque check, weatherstripping inspection, sensor alignment.
- Every 3 – 5 years: Proactive spring replacement, cable replacement if worn, opener motor assessment.
That structure reflects how the parts actually wear. Springs and cables are consumable items under constant tension. Rollers and hinges are friction points that respond well to grease. The weatherstripping faces sun, rain, and freeze-thaw without moving at all. Treating them all the same misses the point.
In Joliet, this layering matters more than in mild climates. Winter temperature swings from the low teens to the high 30s and back can flex metal far more than a steady cold would, and the cycle count on a door that runs two or three times a day adds up. Our technicians have up to 9 years of experience working on these systems, and the pattern is consistent: doors that follow a layered schedule rarely produce emergency calls. Doors that wait for a single annual tune-up tend to fail on the coldest morning of the year.
Monthly Checks: Balance Test and Cable Inspection
The monthly check is the fastest and most overlooked part of the schedule. Five minutes per month is enough to catch a failing spring or a fraying cable weeks before it becomes a problem. You do not need tools for most of it.
How to run the balance test correctly:
- Close the garage door completely.
- Pull the manual release handle to disconnect the door from the opener. On a standard opener this is the red cord hanging from the rail. If yours has a different release, check the opener manual.
- Lift the door by hand to about waist height, then let go.
- Observe whether the door stays put, slowly sinks, or rises. A well-balanced door should hold roughly where you left it, or drift down only slightly.
- If the door sinks quickly, rises on its own, or slams down, the spring tension is wrong. Reconnect the opener, do not force the door, and call for service.
A door that fails the balance test has a spring issue that is likely to worsen. In our experience, a door that won’t hold position is on a shorter timeline than most homeowners expect. Treat it as a signal to book a professional visit within the next few weeks, not the next season.
Visual cable inspection: with the door closed, look at the cables running along each side of the door. You are looking for fraying, kinks, rust spots, or strands that have separated from the main bundle. A cable should be smooth and taut. Any fraying is a replacement item. Do not touch, tug, or attempt to adjust a cable that looks stressed. Those cables are under significant tension even when the door is at rest.
Safety caveat: garage door springs and cables are under high tension and can cause serious injury if handled incorrectly. Do not attempt to adjust, remove, or loosen a spring or a cable. The monthly test above is a check, not a repair. A trained technician has the tools and the winding technique to release that tension safely, and no homeowner should try it as a DIY project. If the balance test fails or a cable looks bad, that’s a call, not a task.
While you’re at it, run the auto-reverse test: place a small object like a roll of paper towels under the closing door and press the wall button. The door should reverse on contact. If it doesn’t, the safety sensor or opener force setting needs attention, and that’s usually a quick fix.
Quarterly Care: Lubrication and Roller Check
Every three months is the right cadence for lubrication and roller inspection. This is the part of the schedule where a modest amount of time prevents the most common friction failures. It also lines up well with a seasonal check, so quarterly in Joliet naturally falls around the start of winter, the start of spring, mid-summer, and the start of fall.
What to lubricate:
- Steel rollers: a few drops of light oil or a small spray of silicone on the roller stem.
- Hinges: one drop per hinge pivot point.
- Bearing plates: a small dab of white lithium grease.
- Opener chain or screw (belt-drive openers are sealed and need no lubrication): a light coat of lithium grease on the chain, or a spray of silicone on a screw-drive rail.
- Torsion springs (the ones above the door): a light coat of silicone spray to reduce friction between coils. Some specialists also grease extension springs, but a torsion spring is the more common configuration in newer homes.
What not to lubricate: the tracks. This is the single most common mistake we see. Tracks are meant to be dry. Grease on the track traps dust and grit, and the rollers start to skip or drag. If you have already greased the tracks, wipe them down with a rag and a mild degreaser, then leave them bare. A dry track with clean rollers runs better than a greased track every time.
Roller check: with the door closed and the opener disconnected, look at each roller. A roller should spin freely on its stem with no wobble. Signs of wear include flat spots on the roller edge, a missing bearing, or a roller that grinds instead of spinning. Nylon rollers tend to last longer than steel, and steel rollers tend to outlast cheap plastic ones. If you’re replacing rollers, replace all of them at the same time so the door stays level.
While you’re doing quarterly care, check the opener’s light and sensor alignment. The two sensors near the bottom of the track should be aimed at each other, and the indicator lights on each sensor should be steady, not blinking. A blinking sensor light almost always means misalignment or debris in front of the lens. Cleaning the lens with a dry cloth fixes the majority of these cases.
The Correct Lubrication Map
The right lubricant depends on the part, and using the wrong one is worse than using none. Here’s the map we use on every service call, and the one worth keeping on the wall of your garage.
- White lithium grease: bearing plates, hinge pivots, the opener chain (for chain-drive openers). It’s thick, stays put, and handles the load.
- Silicone spray: torsion springs, screw-drive opener rails, nylon rollers, weatherstripping edges. It’s dry enough not to attract dust and safe on rubber.
- Light oil (3-in-1 or similar): steel roller stems only. A drop is enough. Don’t overdo it.
- Nothing at all: the vertical and horizontal tracks, the photo-eye sensors, the opener’s circuit board or motor housing, and any part where the manufacturer’s manual specifically says not to lubricate.
The reason the track stays dry is friction mechanics. A greased track collects every bit of dust, grit, and leaf debris that blows in when the door is open. That grit beds into the grease and turns the track into a slow grinding surface. A dry track lets the roller roll cleanly. If your door is noisy, the noise is more likely coming from the rollers, hinges, or spring than from the tracks, and greasing the tracks won’t quiet it.
Two more rules worth keeping. First, don’t lubricate a part you can’t identify. Look it up in the door or opener manual, or call for a professional visit. Second, don’t use WD-40 as a lubricant. It’s a solvent and water displacer, not a long-term grease, and it will strip the existing lubricant from a hinge or roller. Use the right product for the right part, and the lubricant will do its job for a full quarter.
Annual Inspection: Spring Tension and Hardware Torque
The annual check is where a trained eye matters most. It covers the parts that don’t get checked monthly or quarterly, and it’s the best window to catch wear before it reaches a failure point.
What an annual inspection should cover:
- Spring tension check. A technician looks at spring winding, the size of the gap in the coils, and the color of the winding cones. Springs lose tension gradually, and the early signs are subtle: a door that starts moving slower, a slight rise in the opener’s noise, or a subtle sag on one side.
- Hardware torque check. Bolts on the hinges, bearing plates, and end plates vibrate loose over thousands of cycles. A loose bolt is a small problem now and a bent track later.
- Track alignment. Tracks should be plumb and parallel. A vertical track that has shifted a quarter inch will start to drag a roller within a month.
- Weatherstripping and bottom seal. The rubber at the bottom of the door protects against water, snow, and cold air. It compresses, cracks, and eventually tears. Check it for gaps and hardness.
- Opener motor and drive inspection. Listen to the motor during a full cycle. A change in pitch or a grinding sound in the drive means the gears or the drive are wearing.
- Panel and door integrity. Look for dents, sagging, or separation between panels. A bent panel puts uneven load on the springs.
For Joliet homeowners, the annual inspection fits well in early fall, before the first hard freeze. A technician can tighten hardware, check the spring, and adjust the door’s travel so it runs clean through the winter months when cold makes metal brittle and seals stiff. An annual check also gives you a year-over-year record of spring wear, so you can see how fast the tension is dropping and plan the replacement accordingly.
If you’re not comfortable climbing a ladder or getting under the door to inspect hardware, that’s fine. The annual check is exactly the kind of task that’s better left to a professional, especially given the tension in the springs. garage door repair visits for an annual inspection typically take less than an hour and give you a written record you can compare next year.
Spring and Cable Replacement: The 3 – 5 Year Window
Springs and cables are consumables. They wear out by design, not by accident, and the question is not whether they will fail but when. Most torsion springs are rated for a cycle count somewhere in the ten-thousand-to-twenty-thousand range, and a household that opens and closes the door four or five times a day hits that range in roughly three to five years. Extension springs vary more, but the same logic applies.
Signs a spring is in its final stretch:
- The door feels heavier than it did a year ago, and the balance test shows it sinking faster.
- You can hear a slight popping or creaking during the cycle.
- The door looks slightly off-level when fully open.
- The coils show a visible gap or a stretched section.
- The door is opening more slowly, and the opener has begun to strain.
If any of those signs appear, the door is in the proactive replacement window. Replacing the spring before it fails is almost always less expensive, and far less disruptive, than replacing it after it snaps and leaves the door stuck in the closed position.
Cable replacement: cables don’t have a fixed cycle rating, but they do wear. A cable with frayed strands, kinks, or rust is a replacement item, full stop. Cables work as a pair, so when one goes, both should be replaced at the same time. The same applies to springs: a matched pair is usually replaced together. A single-spring price covers one spring; a pair is roughly twice that, which is why the pair replacement is the more common job.
If the door’s opener is a LiftMaster or Chamberlain unit with myQ, or a legacy Craftsman system, a spring replacement is a good moment to have the opener checked too. Aging motors strain harder after a spring replacement if the opener has been compensating for a weak spring for months. garage door opener repair during a spring replacement visit is a reasonable call, and our technicians carry the diagnostic tools for the major opener brands so the visit isn’t wasted on a guess.
Joliet Seasonal Prep: Freeze and Heat
Joliet’s climate is the real driver of this schedule. Winters bring hard freezes and rapid thaw cycles, and summers bring heat that softens rubber seals and stresses the opener’s motor. Seasonal prep is not a general check-up; it’s specific to what the weather is about to do.
Before the first hard freeze (late fall):
- Lubricate the hinges, rollers, and bearing plates while the weather is still mild. Cold grease is stiff grease, and a door that runs hard in October will run harder in January.
- Check the bottom seal for cracks or hardening. Rubber that has stiffened with summer heat will crack more easily once the cold sets in.
- Test the auto-reverse and the safety sensors. Cold can affect the sensor alignment if the track has shifted, and a door that closes on an obstacle is a real danger.
- Clear the track of leaves and grit before snow and ice start pushing debris in.
- Confirm the door’s balance. A door that’s already slightly out of balance will feel much worse in cold weather.
Before summer heat peaks (late spring):
- Re-lubricate the spring with silicone spray. Heat and friction are a bad pairing on a spring coil.
- Check the weatherstripping around the door’s perimeter. Heat accelerates rubber aging, and a dried-out seal lets in both heat and insects.
- Inspect the opener for heat-related noise. Garage interiors get hotter than the outdoor air, and a motor straining against a stiff or unbalanced door will run hotter than it should.
- Look for signs of water intrusion near the bottom of the door after a heavy rain. A worn seal is the most common entry point.
If you’re planning a service visit, a pre-winter appointment in Joliet is usually easier to schedule than a mid-winter one. If your door does fail on a Saturday, note that our crews are closed on Saturday and will book you into the next opening, Sunday through Friday, from 7am to 7pm.
How to Log Maintenance So Patterns Emerge
A two-minute maintenance log changes every future service call. When a technician can see what was checked, when, and what was found, the diagnosis gets faster and the recommendations get sharper. The log does not need to be complicated. A notebook on a hook near the door, or a note on your phone, is enough.
Log these five things every time:
- Date: the date of the check or service.
- What was done: lubricated hinges, ran balance test, replaced a bottom seal, professional inspection, etc.
- Balance test result: held in place, sank slowly, sank quickly, rose. This is the single most useful line in the log.
- Noise or behavior changes: “louder on the way down,” “opener hesitated,” “cable looked fine but hinge was loose.”
- Parts replaced and by whom: what was installed, and whether it was a professional visit or a homeowner check.
The value is in the trend, not in any single line. A balance test that reads “held in place” three months in a row and then “sank slowly” six months later tells a technician exactly how fast the spring is losing tension. That’s information no service call could replicate on its own. It also stops you from over-servicing the door: if the balance is steady and the rollers are smooth, you don’t need a spring replacement just because a year has passed.
The log also protects you from unnecessary repair recommendations. When a technician can see that a spring was replaced eighteen months ago, or that the opener was serviced last spring, the conversation stays grounded in the actual condition of the door. That matters for the customer and for us: our goal on every visit is to give an honest recommendation based on the door’s condition, not to sell a service you don’t need.
Common Mistakes to Avoid
- Greasing the tracks. This is the most common garage door lubrication error. Tracks should stay dry; grease on the track collects grit and drags the rollers. If you’ve already greased them, wipe them down and leave them bare.
- Using WD-40 as a lubricant. It strips the existing grease from hinges and rollers and leaves the part drier than it started. Use white lithium grease or silicone spray, not a solvent.
- Ignoring the balance test result. A door that sinks quickly or rises on its own is telling you the spring is failing. Waiting “until it’s really bad” usually means waiting until the spring snaps and the door is stuck.
- Replacing one spring of a pair. Torsion springs are matched, and a new spring paired with a stretched one puts uneven load on the door. Replace the pair together.
- Skipping the pre-winter check. In Joliet, the first hard freeze stiffens grease, hardens seals, and finds every loose bolt. A fall inspection prevents the winter call.
- Letting the opener strain against a failing spring. The opener motor is not designed to lift the door’s full weight. Every month of compensating for a weak spring shortens the opener’s life.
- Not keeping a maintenance record. Without a log, every service call starts from zero, and the technician can’t see the pattern that would have caught the failure earlier.
When to Call a Professional
Some checks are homeowner-friendly: the balance test, a visual cable inspection, the auto-reverse test, and lubrication. Others are professional work, not because the parts are exotic but because they’re under tension or require tools most households don’t own. Call for help if the balance test fails, if a cable is frayed or kinked, if the door is off its track, if the opener runs but the door doesn’t move, if the door reverses without an obstacle, or if the spring has visibly broken.
Remington Garage Door Repair offers free estimates in Joliet. Call (888) 857-5215. We answer 24/7, fast dispatch from 7am to 7pm, and our technicians have up to 9 years of experience with every major door and opener system, from Genie and Clopay doors to LiftMaster myQ openers. One call covers the whole system: panels, springs, tracks, and opener. A call outside dispatch hours is booked into the next opening, Sunday through Friday, from 7am to 7pm.
See the difference
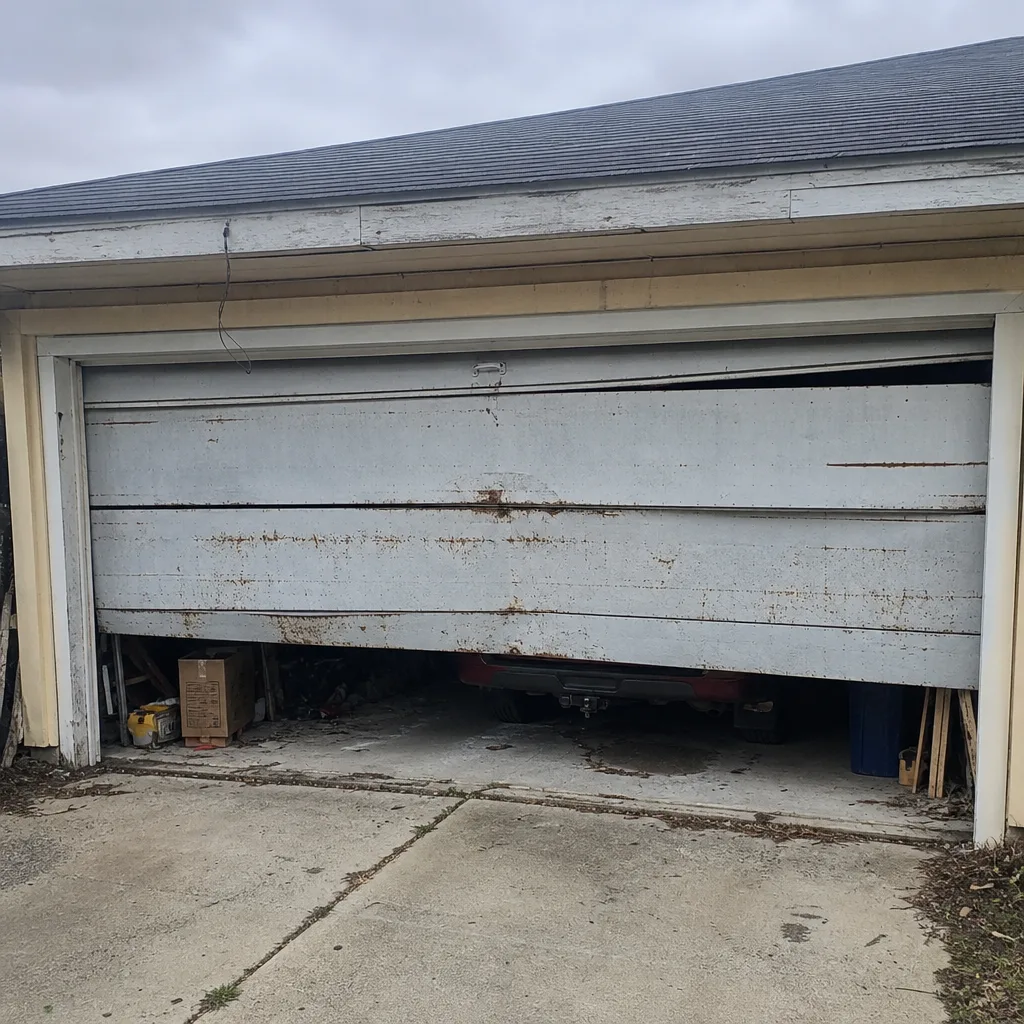 Before
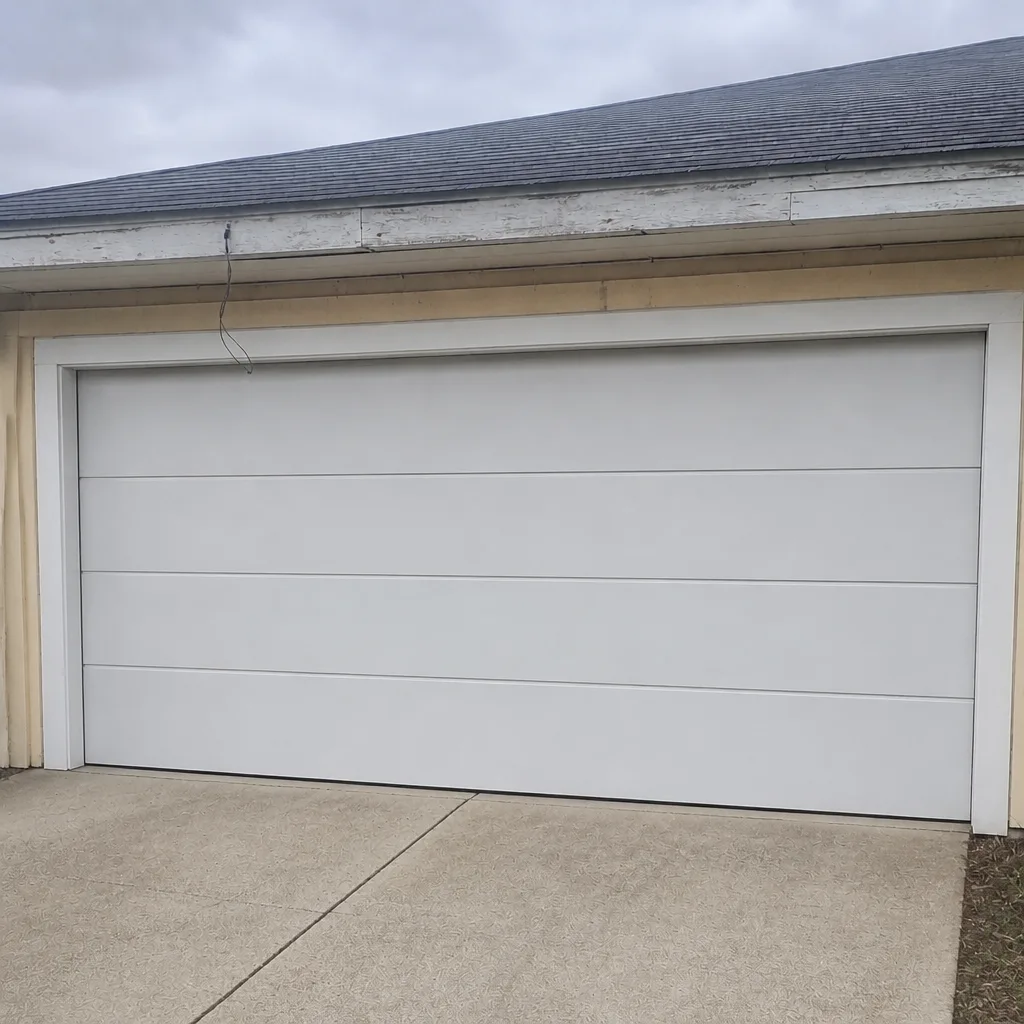 After
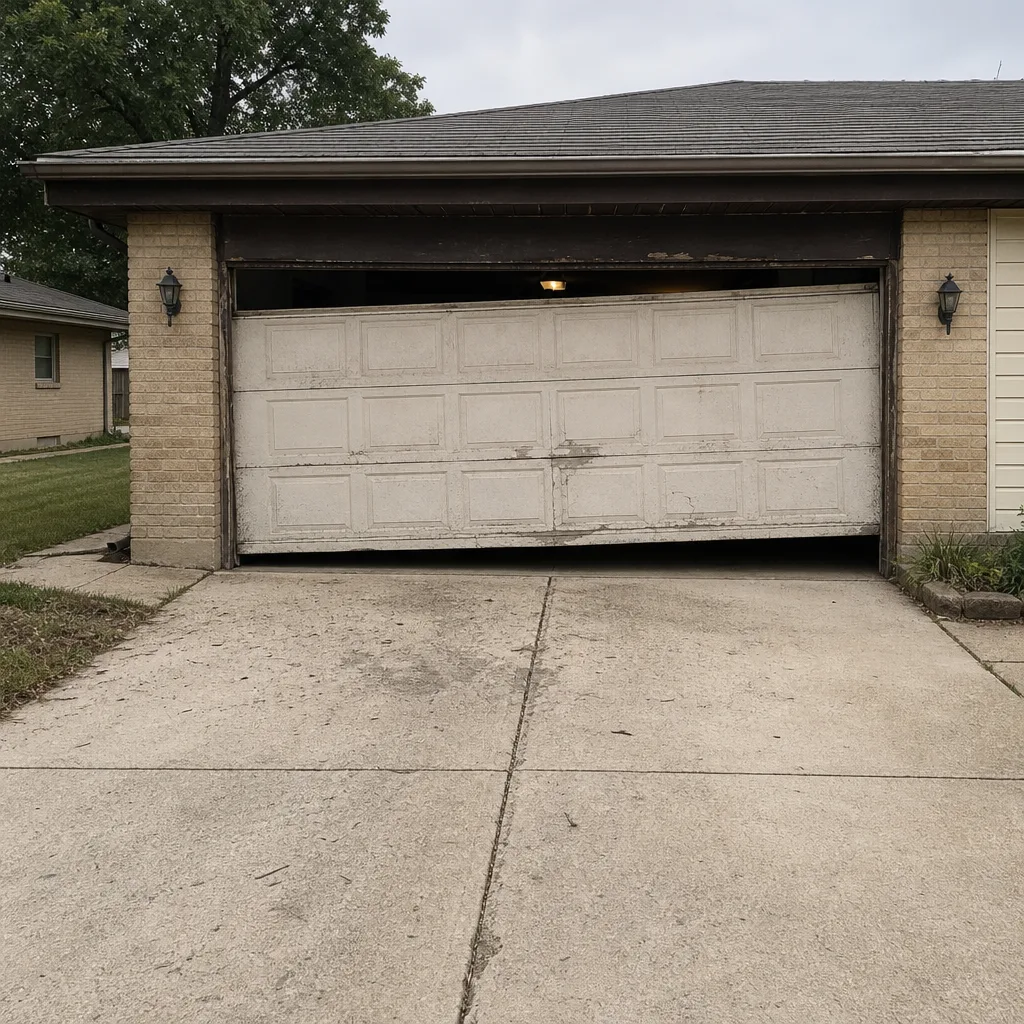 Before
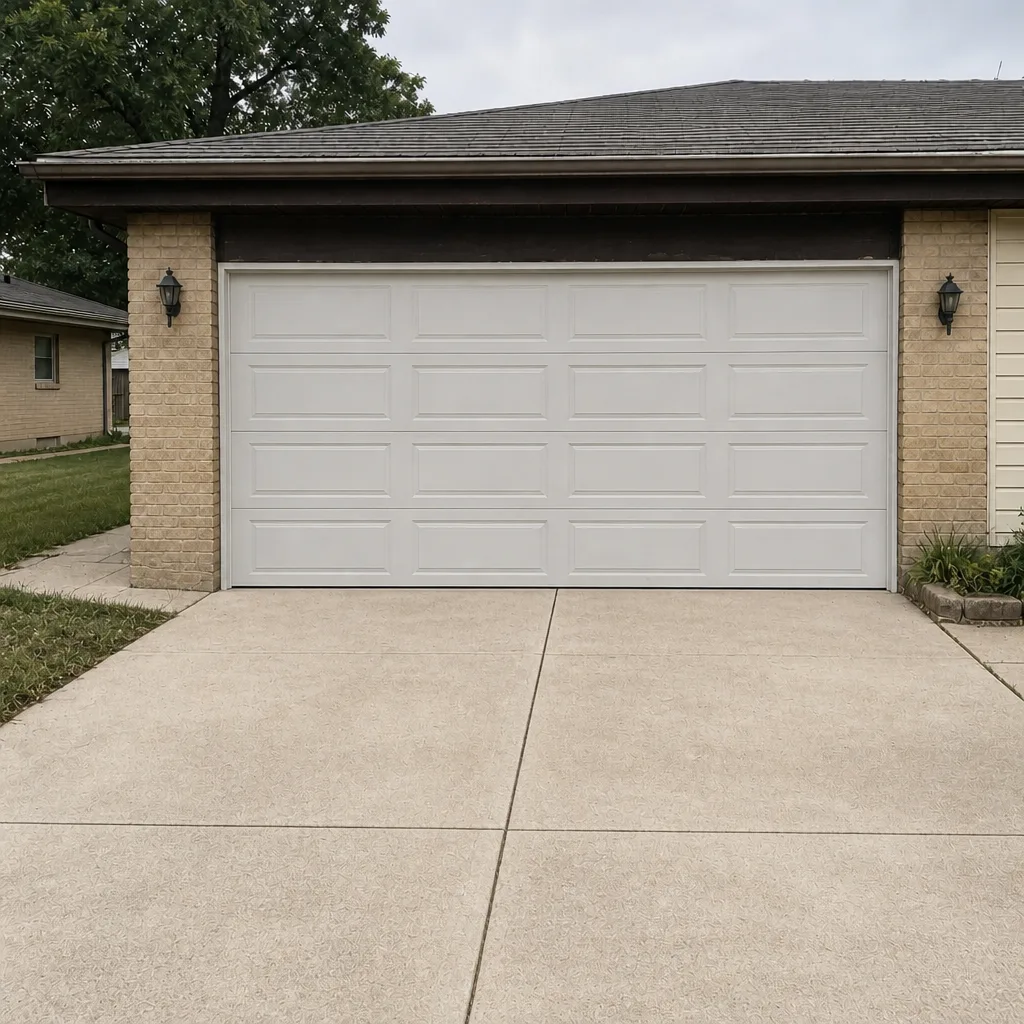 After
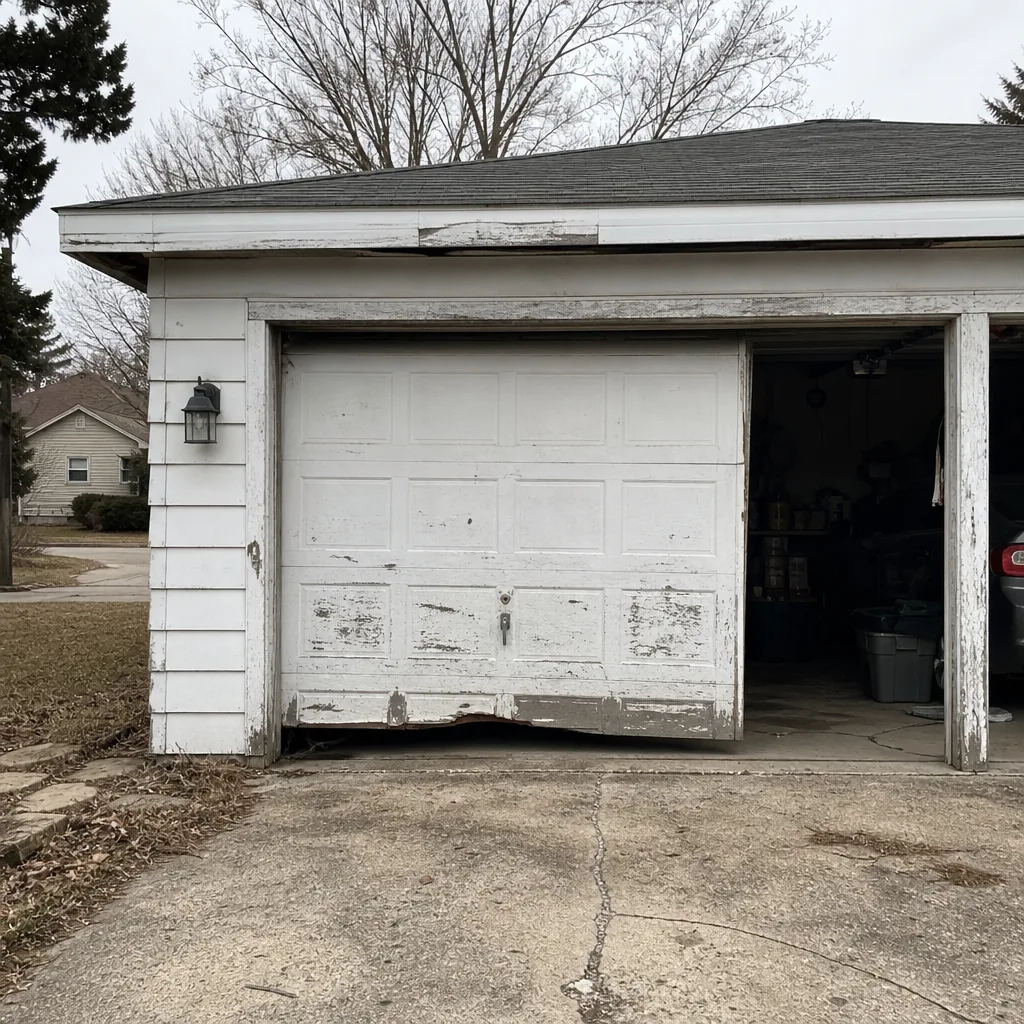 Before
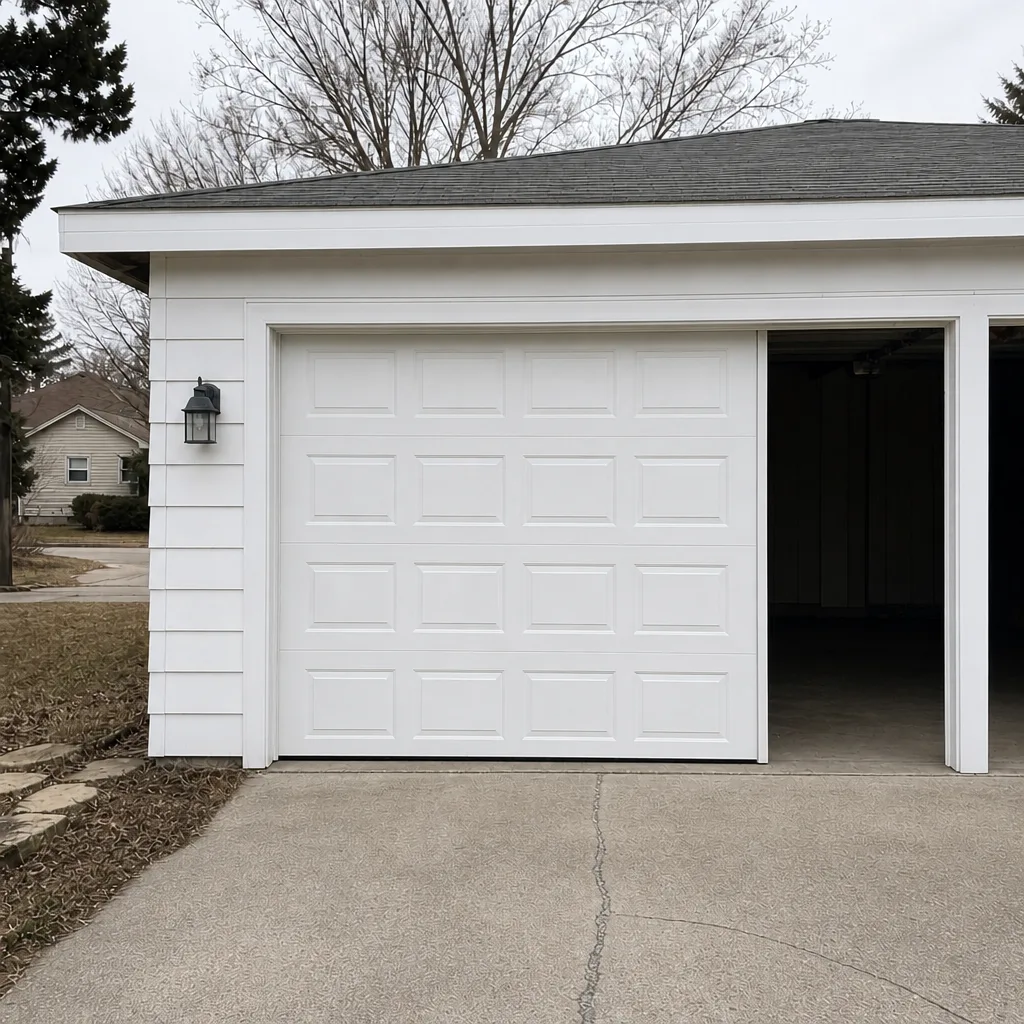 After
Frequently Asked Questions
A garage door benefits from a light homeowner check monthly, lubrication quarterly, a professional inspection annually, and planned spring or cable replacement every three to five years. The annual professional visit is the minimum most households should schedule. If the door gets heavy use or fails the balance test, it should be checked sooner.
Monthly checks should cover the balance test, a visual cable inspection, and the auto-reverse safety test. These three checks catch most early failures before they become expensive. The balance test is the most important because it tells you the spring’s condition months before a failure. Call (888) 857-5215 for an exact quote on a repair if any of these checks fail; estimates are free.
No. Garage door tracks should stay dry. Lubricant on the track attracts dust and grit, which drags the rollers and makes the door run worse. Lubricate the hinges, rollers, bearing plates, and springs instead, and leave the tracks bare.
The clearest sign is a change in the door’s balance test, followed by slower operation and a slight popping or creaking during the cycle. Spring cycle life is usually three to five years for a household running the door several times a day. In Joliet, where temperature swings stress the springs more, the window can lean toward the earlier end. Replacing the pair together is the standard recommendation.
A monthly check is a homeowner observation of the balance, cables, and safety reverse. An annual inspection is a professional evaluation of spring tension, hardware torque, track alignment, weatherstripping, and opener condition. The annual inspection catches the wear patterns that monthly checks can only hint at. Both are worth doing, but they serve different purposes.
For most local service requests, yes. Fast dispatch from 7am to 7pm, Sunday through Friday, and repairs are usually diagnosed and quoted before any work starts. Call (888) 857-5215. We answer 24/7, and a call outside dispatch hours is booked into the next opening.
The Bottom Line
A garage door maintenance schedule works because it separates the parts by how fast they wear, not by how often it’s convenient to check them. Monthly balance and cable checks catch spring trouble early. Quarterly lubrication keeps the friction parts smooth, provided you get the lubrication map right and keep the tracks dry. Annual inspections confirm spring tension and hardware torque. And the three-to-five year window for springs and cables is the one most households miss. Logging what you do turns all of this into a trend line, and in Joliet, that trend line is what keeps a door running through freeze and heat alike. From the whole system at Remington Garage Door Repair, whether you’re in Joliet or nearby, the goal is the same: catch wear before it becomes a failure.
Written by the team at Remington Garage Door Repair.